
Photoscape Tutorial
PhotoScape is an elegant and smart photo editing software that enables the user to fix and enhance photos dynamically. PhotoScape has been proved as a strong alternative to softwares like Adobe Photoshop and Google Picasa when it comes to photo retouching. The ease of use interface provided by PhotoScape makes it a top choice among those who find Adobe Photoshop difficult to understand. PhotoScape combines the best of both Adobe Photoshop and Picasa.
Step 1: Open PhotoScape and Click on the editor icon on the top of the interface.

Step 2: Open up your photo by navigating to the appropriate hard-disk location through the left side panel.

Step 3: Click on Bloom and then click ok

Step 4: Click on Filter and select Smart Blur followed by noise reduction. Set the noise reduction level to middle.

Step 5: Now again click on Filter and select vignetting –> #8 two times. This retouching effect will make your face highly accentuated against the background.
Step 6: Now save your retouched photo by clicking on save –> save as –> choose location to save.


It was that easy. Isn’t that photo retouching much simpler and hassle free than Adobe Photoshop where you have to mess with layers and all. I hope that you must have enjoyed these simple retouching tips.
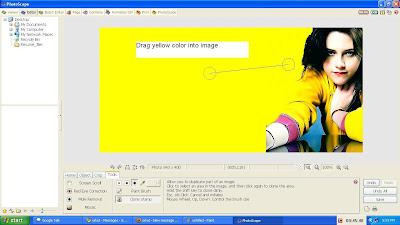
PhotoScape Tutorial For Hair colour

PROCEDURE :
Open picture.Go to object> select 'mode line'.Choose the color wanted to paint the hair/Pull the arrow of whole opacity for left side.Leave the thickness above 10.Increase the zoom wellPaint the hair without loosening the mouse until ending
After doing, click the 'photo+objects' barn combine ur photo with objects.. ok !

Dn, after procedure :
Bloom > Low
Fillter> Film Effect
Velvia>high
provia>high
Contrast improvement> medium
n bright> low
n save!
PhotoScape Tutorial For HD effect
• Editor> Open the photo
• Fitr> Noise Reduction (clear vision)> High
• Sharpening> Low
• Sharpen> 5
• Brightness, Color> Improves contrast> Low
• Effect Movie> Process crossed> Low
• Frames> Your choice
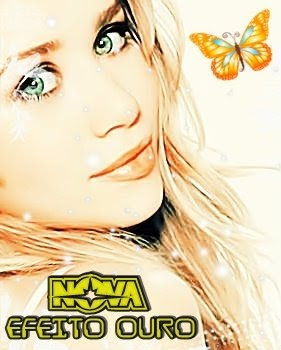
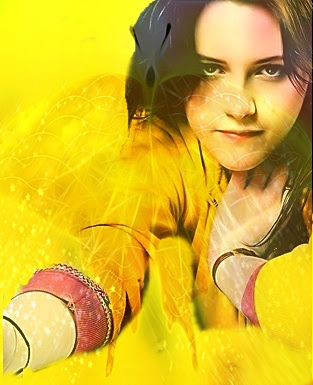
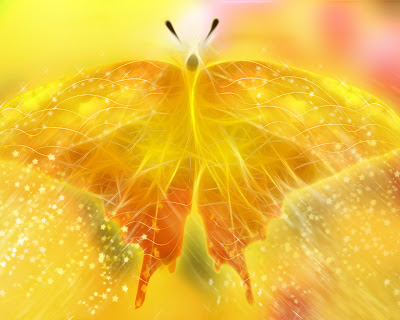
PhotoScape Tutorial For Gold Effect
• Gold Effect
O1 - High level - high
O1 - High level - high
O2 - Click Sharpening and setting in which to get better in your photo.
O3 - Afina - 6
O4 - Filter - Noise reduction - medium
O5 - brightness, color - enhances contrast - medium
O6 - brightness, color - brightness - down (grayed out)
O7 - Brightness, Color - Deepen - medium
O8 - Filter - movie effect - cross-process - low
O9 - brightness, color - color:
⋆ color - 33
⋆ saturation - 255
⋆ Level - 28%
10 - Tune - 5
11 - Click over to the light
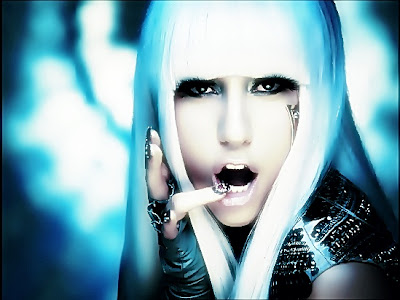
PhotoScape Tutorial Poker Face Effect
⊹ [EFFECT] Poker Face
Reduction Ruídio (Deletes Visual) - High
Smart Blur (Deletes Visual) - 8.0
Filter - Effect Movie - Movies - Low
Filter - Effect Movie - High-Velvia
Filter - Movie Effect - Process
Cross-Low
Afina - 9
STEP 2:
Brightness, color - Darker-Low
Brightness, Color - Color
'Colour - 140
Saturation - 155
'Level - 50%
CLICK on Sharpening
Type - NORMAL MODE
'Level - 69%
'Blur - 6.0
'Contrast - 100, click OK
Done
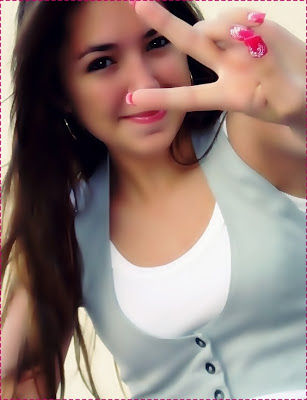
PhotoScape Tutorial For Pink Light
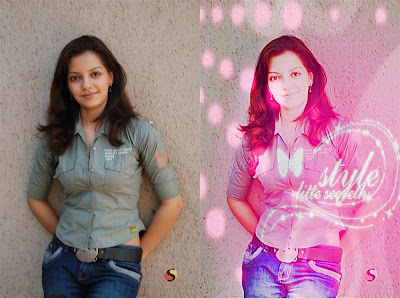
PROCEDURE:
Click on Backlight>200+ (5times)
Apply texture on it with opacity 117.
Apply shiny circle on it with opacity 117.
Photo+Objects>Combine>Ok!
Bright.color>Pull saturation curve to this level.
- Bright.color>Pull luminance curve to this level:
Filter>film effect>Portra>High
Sharpen>9
Save
Ur pix is ready
Credit : OFZ
PhotoScape Tutorial For Gray + gif effect
PROCEDURE:
● Filter> Noise Reduction> High
● Tune> 10
● Brightness, color> Enhance Contrast> Middle
● Tab Home> Frames> Printline O1
● Brightness, color> depth> high
● Pressicione CTRL + V
● Take the image on the burgeoning and posion ft, taking full opacity.
● Go: Mountain with sunset> Photo of Cliboard> So set: Opacity: 141 Anchor: Center.
● Photo + cultural relics
● Brightness, color> depth> Maximo (Tom Gray)

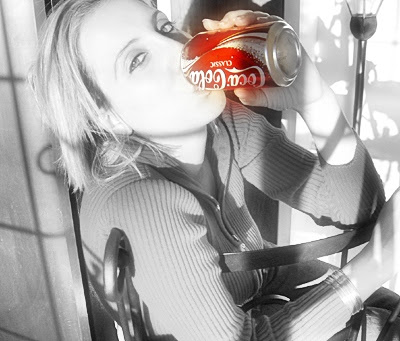
PhotoScape Tutorial For Coke
Sharpen-5
Filter > Noise Reduction> Low
Click on Center of Bright,color> Deepen-20 > Brighten> 10 > Darken> 11 > Ok !
Filter > Region Out Of Focus > Gray Scale >( Adjust Size and feather)
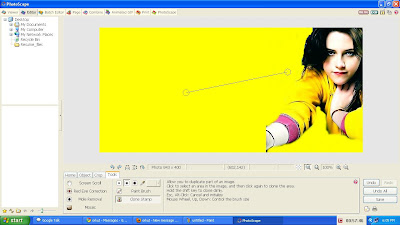
PhotoScape Tutorial For backgroound + effects

Now, Open photoscape>Combine>
then add photos and edit

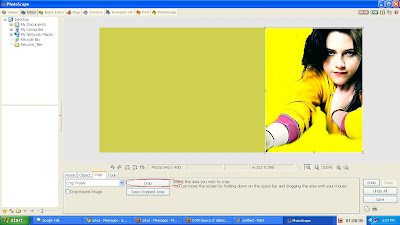
Now go to 'Tools'>Clone stamp>Biggest size(circle) and do like this:
then, move the circle from up to down 2-3 times so as to cover the whole background like this:
crop ur image
Effect procedure:-
then go to object
click on mountain logo
select the downloaded graphics
opacity 119
Backlight +150 (3 times)
Bright,color>saturation > ok !
ur image is ready.
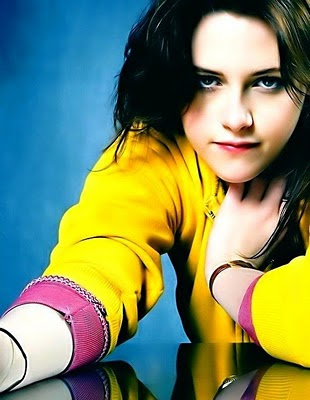
PhotoScape Tutorial Wonderful Effect
WONDERFUL EFFECT
- Sharpen : 7
- Filter : Noise Reduction> low
- Sharpen : high
- Against light : (+/-) 75%
- Against light : (+/-) 50% (Standard)
- Smart Blur> : 8.0
How To Create PNG Image In Photoscape
Now open the Blank PNG picture In photoscape,
As u can see In the screen shot

And now u can edit what ever u want on the Blank PNG

And Finally save it..
Done!!

PhotoScape Tutorial For Vampire Effects
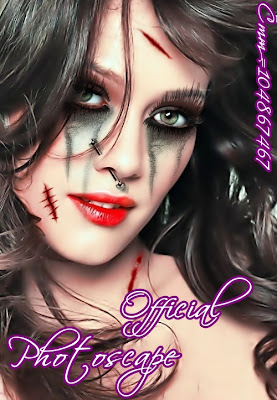


PROCEDURE:
Filter > Noise Reduction > Medium
Backlight>100 %
Bright.Color> Color Enhance
Then, Just adjust those materials accordingly & Pix Is ready.
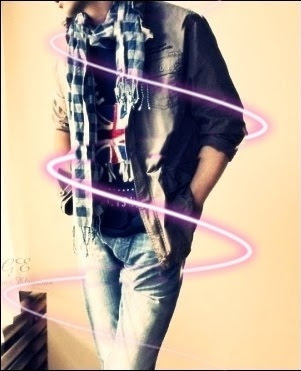
PhotoScape Tutorial For To Make Swirls In A Pic
PhotoScape Tutorial For Firelight Effect

Procedure:-
Open the picture in editor.
backlight-150(4times)
bloom- high
sharpen-8
then go to object- click on mountain logo-photo
Apply texture on it with opacity 117.
Photo+objects>combine>ok!
go to home
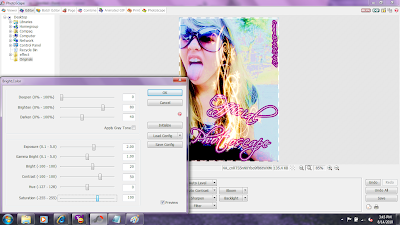
Click on center of Bright
brighten-80
darken-40
exposure-2.00
gamma bright-1.00
bright-20
contrast-50
hue-0
saturation-100
then , bright.color>brighten>middle
backlight>(+/-)50%
filter>smart blur>4.00
Ur pIx is ready.